
Overview
This page goes through all the important details of an IME Report Case that you’ll need to input to create a case in service. You can create an IME case without searching for a specialist using the service “IME Multi-Appointment Booking”. You can also use this service to book multiple appointments if you are not confident on the one appointment and need backup options (you’ll confirm only one option at a later date. Although it is best to fill out as much information as you can, not all fields within an IME Report case needs to be filled out immediately. Certain fields must be filled in order for a case to be created.
Purpose(s)
- To provide a step-by-step process of fields that must be entered for a IME Report case to be created
Important Details to Add to Create an IME Report Case

|
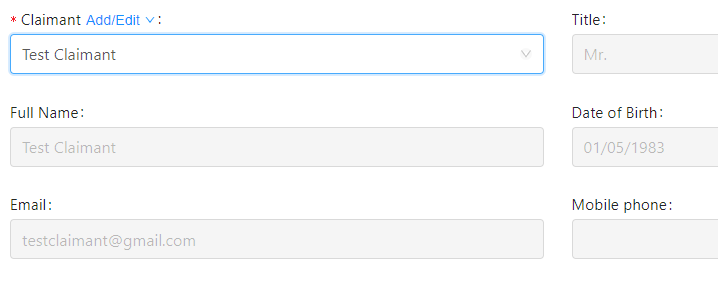 |
|
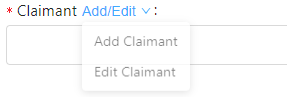 |
|
   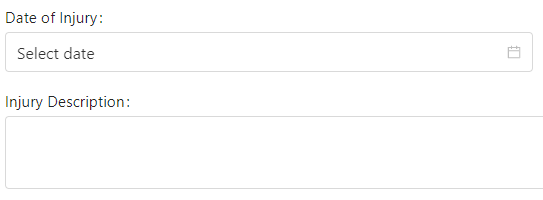 |
|
 |
 |
Add Multiple Appointments to an IME Report Case
This step only applies if you used “IME Multi-Appointments Booking” to create an IME Report case. You’ll know if an appointment hasn’t been booked if you see no details of an appointment displayed on “Specialist-Time-Location”.
| No Appointment |
| Appointment Selected |
 |
To add an appointment, expand “Specialist-Time-Location” and click on “Add Appointment”.
Use Clinic Calendar to find a session to book for an appointment. If you know the specialist you are looking for, you can filter the calendar to show only their session availabilities (click “Search” to update). Use the Calendar Key to identify the type of appointment available (video vs in-person, available vs on-demand).
  |
 |
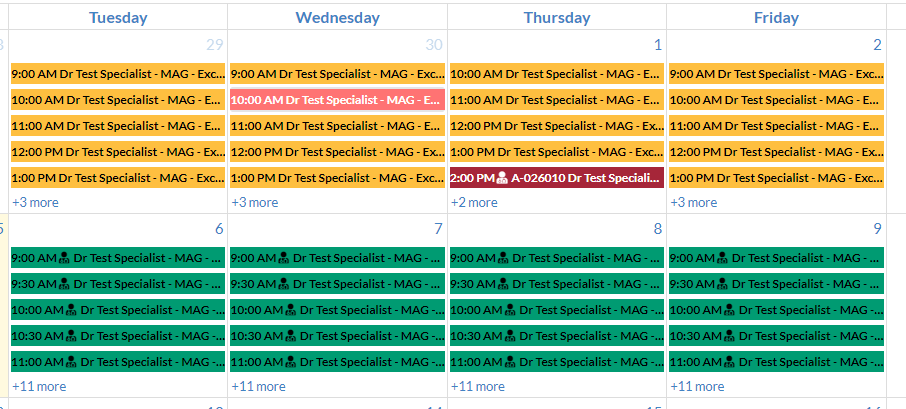 |
Once you’ve found your session, click on it to show its details. If you’re happy with the selection, click “Select This Session”.
 |
The appointment’s details will be added onto the case. You can repeat the steps above to add multiple appointments into your case. Note: only one appointment can be confirmed per case. Adding multiple appointments is only advised if you’re not confident on your preferred appointment and need some backup options. You’ll then select one appointment to confirm, and the rest of your choices will be removed.
Additional Appointment Details
When you’ve selected your preferred appointment to book, your booked appointment may require to additional details about the appointment. Refer to the expandable sections in “Appointment Details” below.
|
|
 |
|
|
 |
|
|
|
 |
When done, Click “Save” to create the new case, “Close” to cancel.
 |